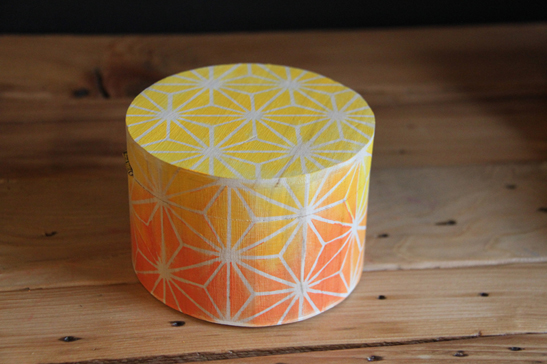
Finding the best way to store your things can be a little tricky sometimes. Especially because you want storage that does more than just hold things, you want storage that accentuates your space, something that is functional but also great to look at! For this how-to we experimented with our new pattern stencils to make a beautiful box that is perfect for holding small objects and that looks stunning on any surface.
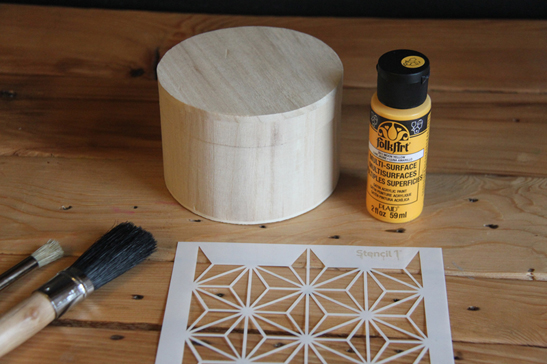
For this project you’ll need: A wooden box, FolkArt Multi-Surface Paint, stencil brushes and Stencil1 Star Pattern stencil.
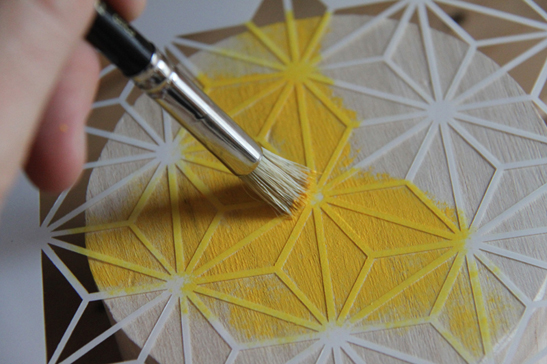
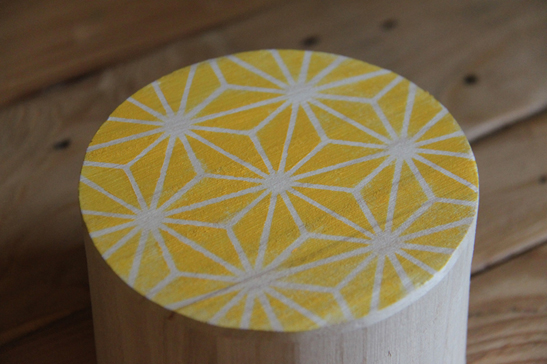
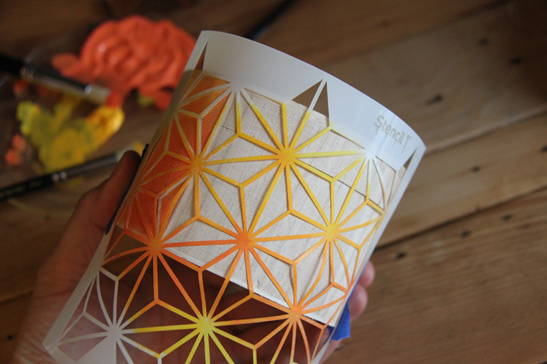
Step 1: Start by stenciling the top of the box. Place the stencil on the top. You can use a low-tack adhesive to secure the stencil but holding it with your hand would work best for this project. Use the stencil brush to begin stenciling the box. Remember to use a dry brush technique—use very little paint and apply multiple layers of paint.

Step 2: Continue stenciling the rest of the box by wrapping the stencil around it. We painted using a hombre technique by fading from yellow to orange. To do this, use less paint as you approach the middle of the box allowing the yellow to fade off and then switch to a different color. Again start with little paint and gradually increase the amount of paint you apply.
Step 3: Allow it to dry before you store something inside of it. This box would be perfect for storing jewelry or paper clips and pins.
Share your boxes with us at @Stencil1